Navigation Menu / Setup / Users
The user database is naturally at the core of your organisation. Here is a short article to show you the basic steps of managing your users.
TABLE OF CONTENTS
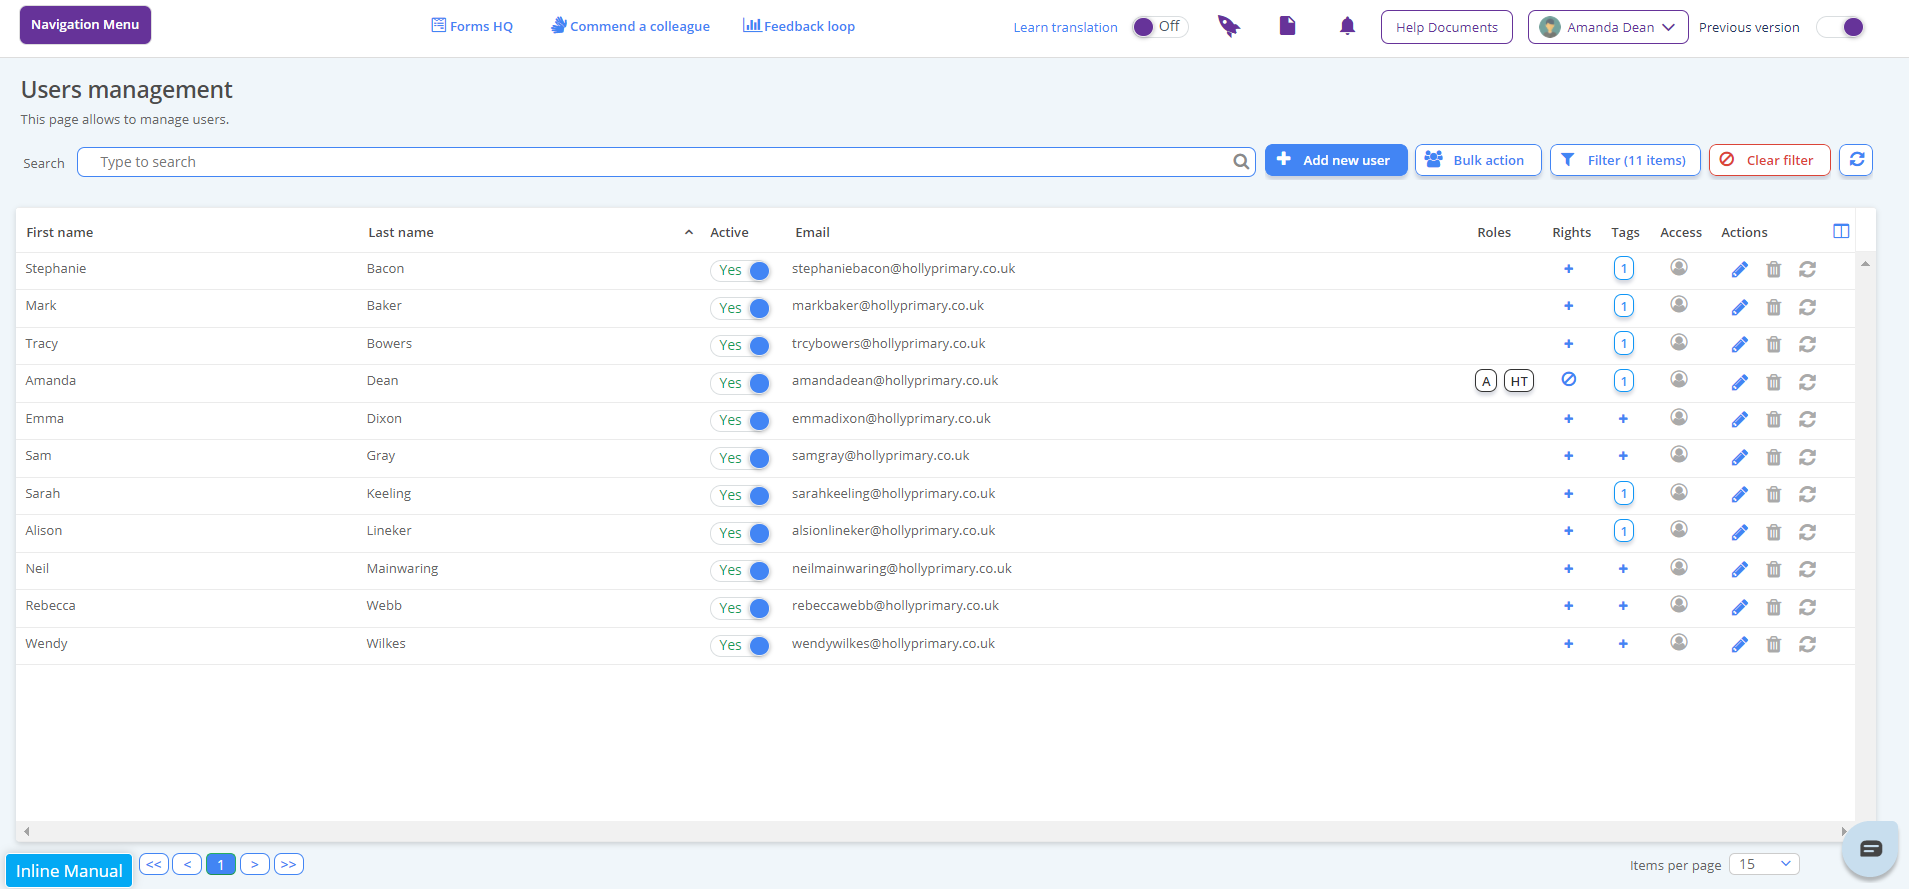
Below is an example of what a user database might look like.
Adding Users
Adding users is incredibly simple and users can be added one by one or in bulk.
Adding a Single User
1. Select the "Add New User" button at the top of the screen.

2. Fill out the required fields, and click "Save".

Adding Users in Bulk
To add users in bulk you will also need a CSV Excel file like the one below, that contains all of your user data.
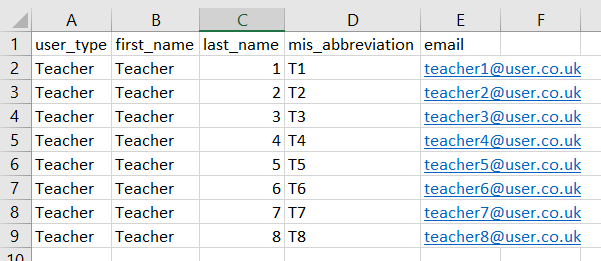
Important: The file must have the 4 headings as shown in this example.
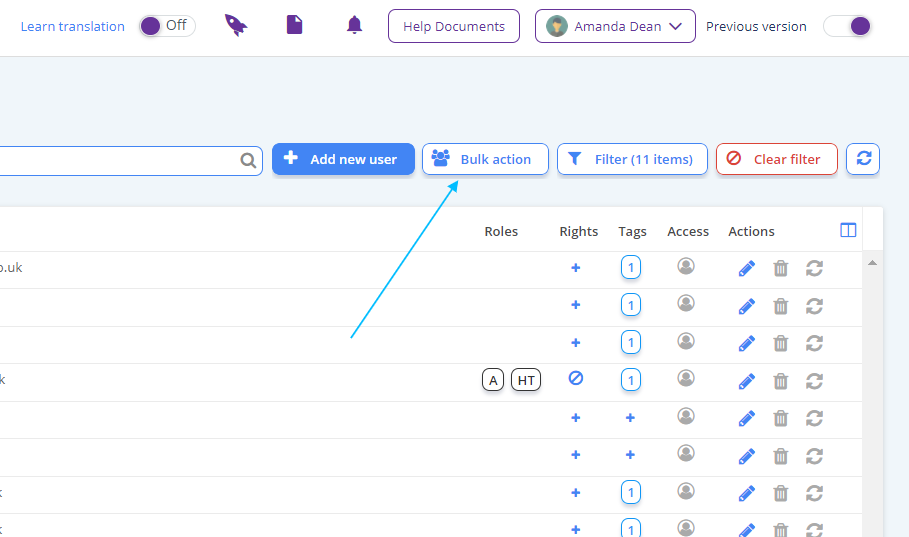
1. Select the "Bulk Action" button at the top right of the screen.
2. Select "Add Multiple Users".

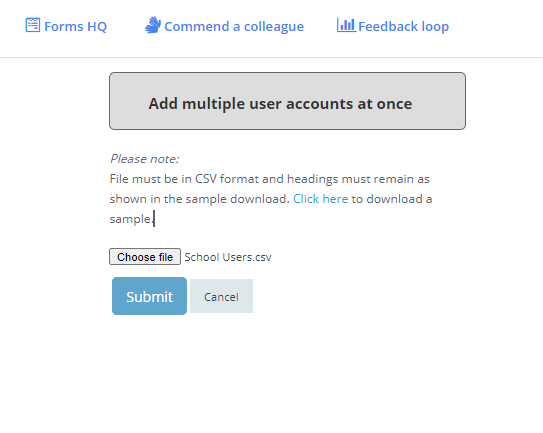
You will then be re-directed to the page below.
3. Choose your CSV file of users using the file explorer and select "Submit".
4. From here, you can edit the names, abbreviations and Teacher type before clicking Submit.

Your users will now be part of your user database - shown below.

Tip: You can edit your users at any time using the "Pencil" icon on the right hand side of the screen.
Assigning Roles
Roles for each user can be assigned in the Edit User screen as detailed above.
A scroll button and a drop down menu are simple tools located on the left hand side of the Edit User screen.

User Types
- Head Teacher: Head teachers have complete access to all records and can create cycles, set objectives and create self-evaluation/planning instances.
- Head Nominee: Head Nominees' have the same access rights as a Head Teacher.
Assigning Special Access
Special access can be a useful tool when a faculty member requires a personalised view of a set of records, but isn't a direct link to a record.
To set up Special Access, you will need 2 elements:
Creating your Tag Table
Navigation Menu / Setup / Simple Setup / Tag Tables
A tag table is a set of values that can be applied to a user within the organisation to assign particular attributes/associations. For e.g. Their subject area.
1. To create a tag table, first select the "New Tag Table" button at the top right of the screen.

2. Name your tag table - in this case we have used "Subject" - and assign it to one of 3 categories. In this instance we are going to use a "Person" tag.

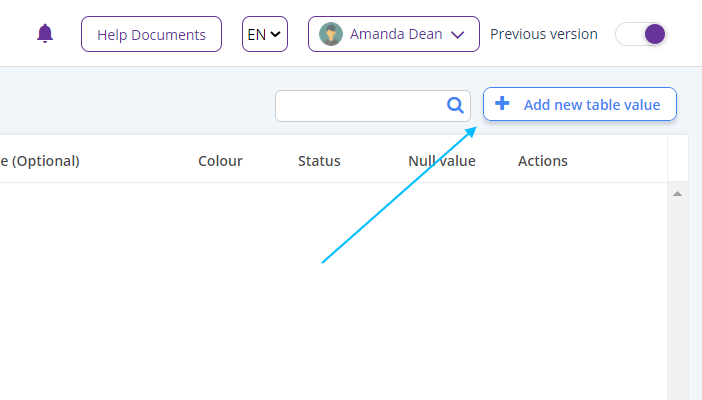
3. Start adding your values using "Add new table value" - located at the top right of the screen.
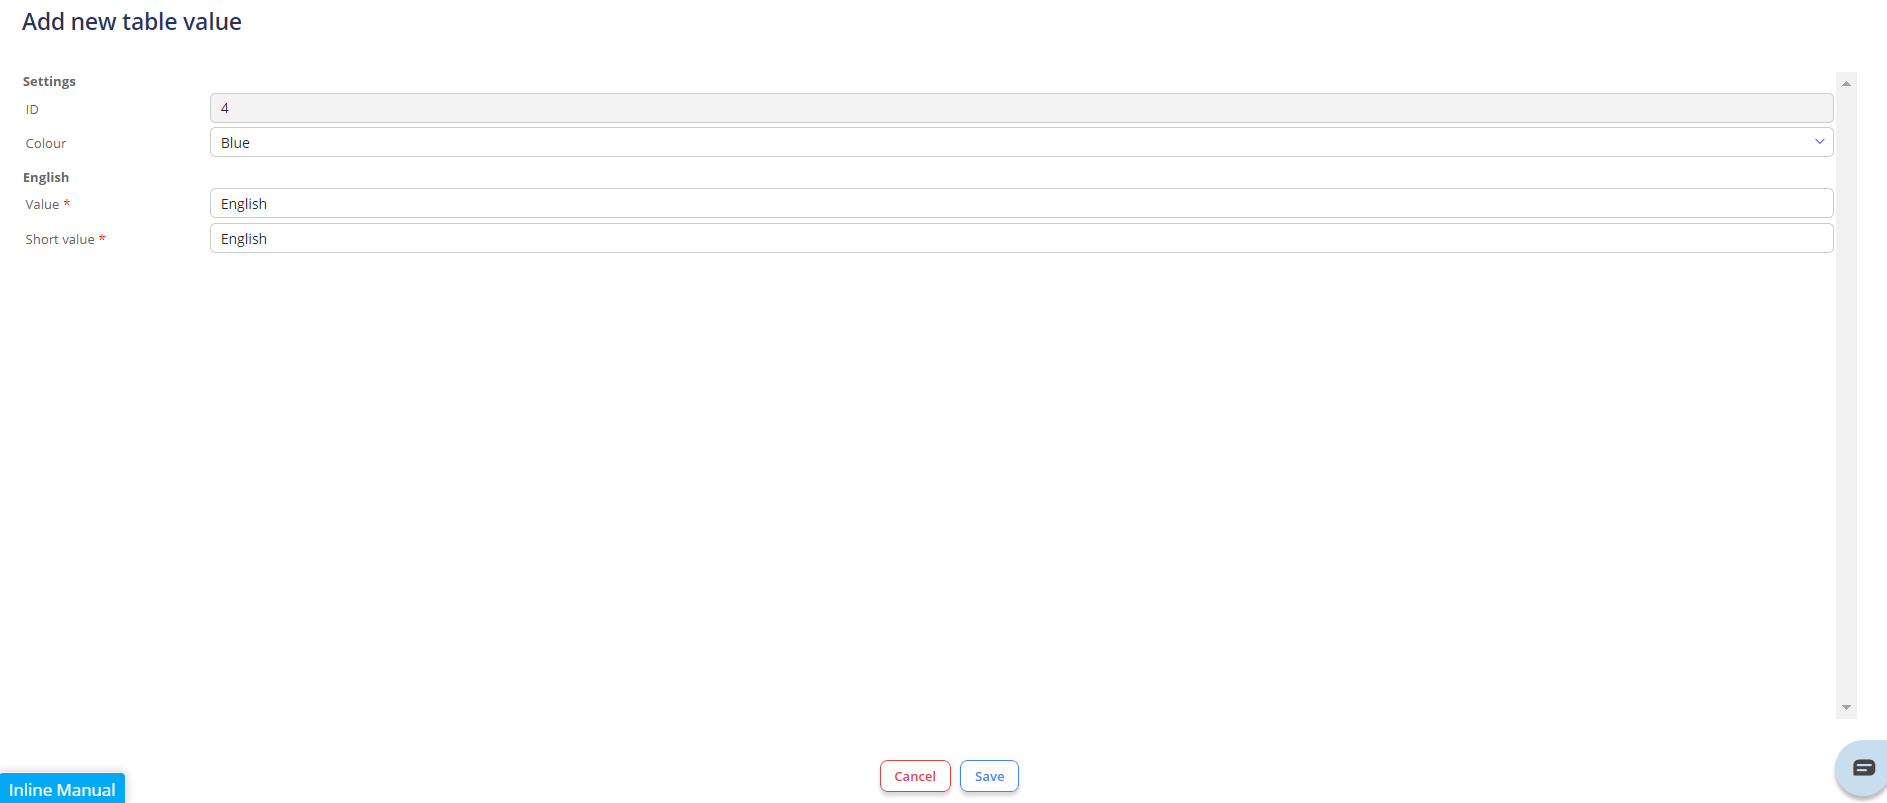
From the create table we can allocate an item name, colour code and number indicator (optional).
Below is an example of a completed tag table.

Tip: You can add new items to your tag table at any time by navigating back to this screen.
Creating your Permission Set
Navigation Menu / Setup / Advanced Setup / Permission Sets
1. To create a permission set, first select the "Add New Organisation Permission Set" button at the top right of the screen.

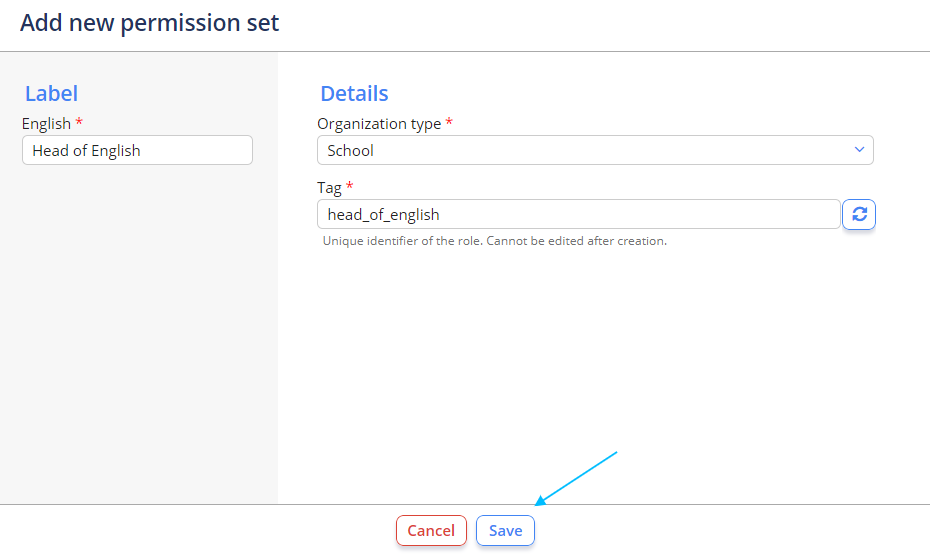
2. Name your permission set. A unique identifier tag will auto-generate based on the title of the set. You can edit this at this stage if required. Select "Save" when complete.
TO BE COMPLETED WHEN BUG IS FIXED
Tagging Users
A tag is an association or "link" that can be applied to users to associate them with something specific. For e.g. You could tag users with their subject area (Like the tag table we created earlier in this document - head to Creating your Tag Table to reference).
Assigning tags is simple and quick and can be done individually or in bulk.
Assigning a Tag to an Individual User
1. You can add a tag to an individual user using the + button on the right of the screen under the "Tags" header on the relevant user.

2. You will be re-directed to the following window. From here, select where the values are stored "Tag Tables", and select the desired tag table from the drop down list.

3. Assign the relevant tags using the + button and click "Save" when done.

The tag will appear under the Tags heading on the relevant user - identified with a number indicator which identifies how many tags are assigned to that user.
If you hover of the number indicator the tag(s) description is shown - shown below. A user can be assigned multiple tags.

Assigning Tags to Multiple Users
Adding tags to multiple users is relatively simple.
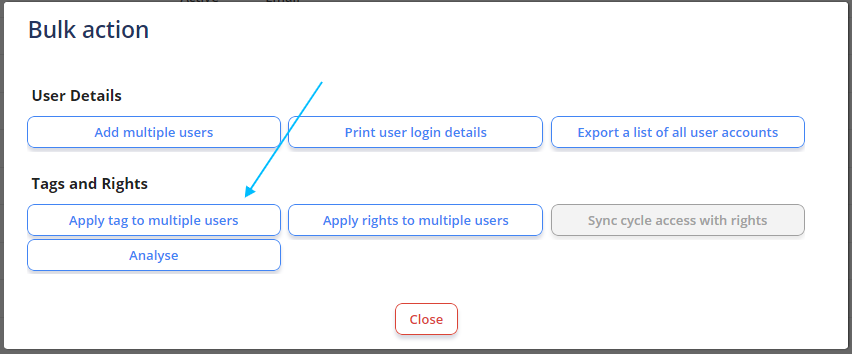
1. Select the "Bulk Action" button at the top right of the screen.

2. Select "Apply tag to Multiple Users".
3. You will be re-directed to the following window. From here, select where the values are stored "Tag Tables", and select the desired tag table from the drop down list.
From here you can assign the relevant tag to multiple users by checking the select boxes from the user list, located at the far right of the window.
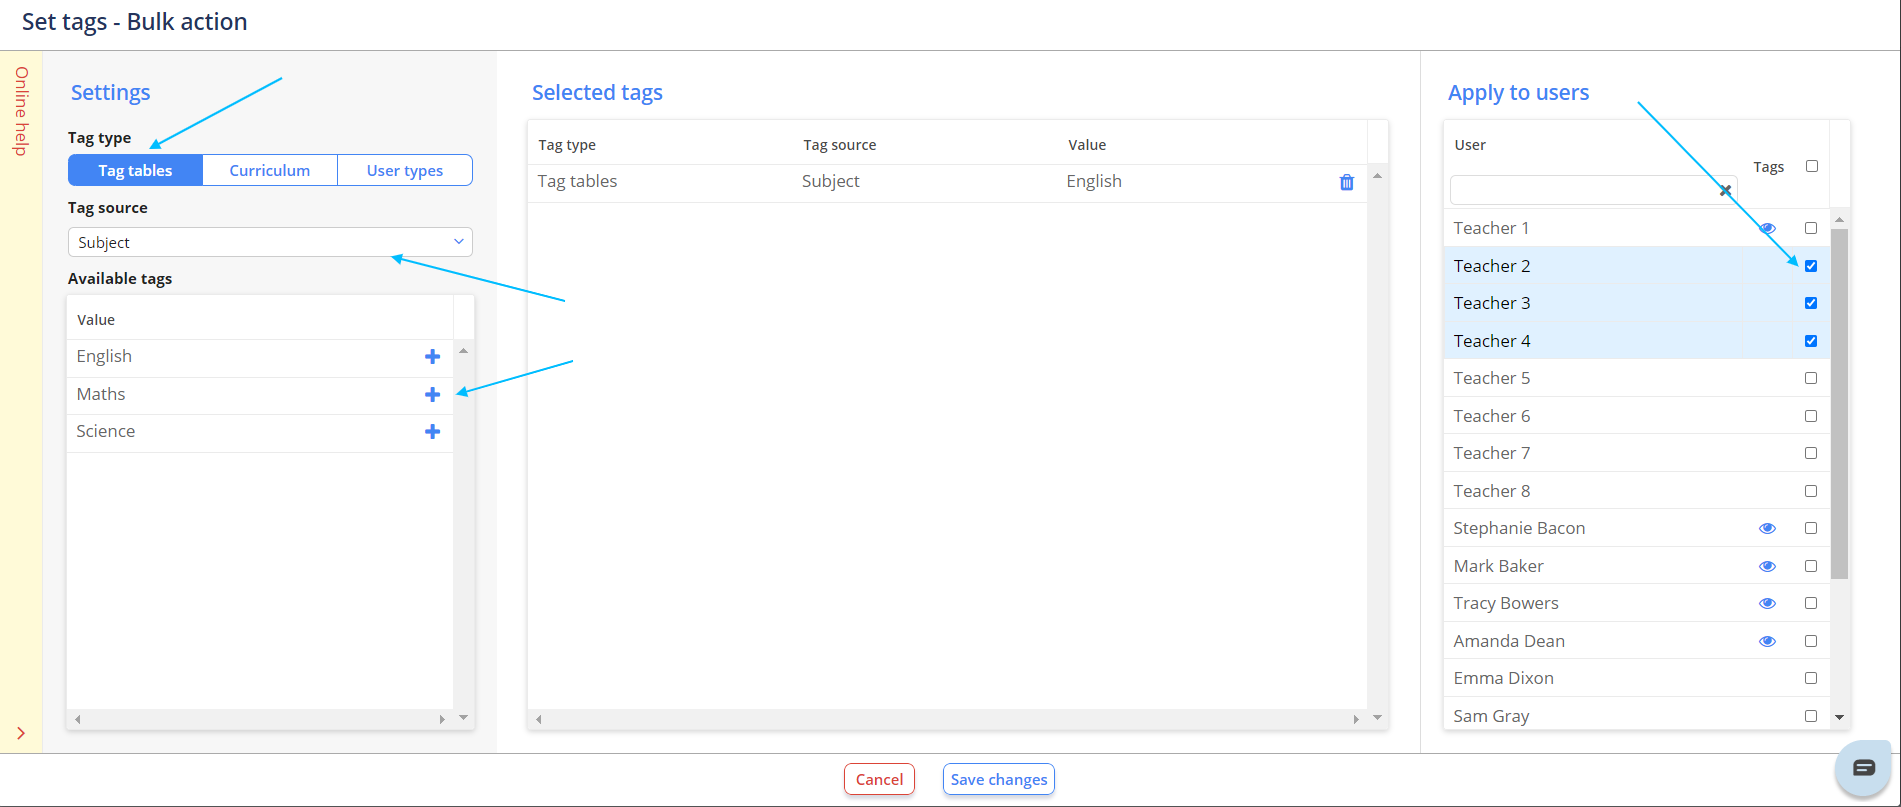
4. Select "Save Changes" when done. You will then be re-directed to your user database, where the tags will have been applied.

Printing User Login Details
1. To print user login details, select the "Bulk Action" button at the top right of the screen.

2. From this window, select "Print user login details"

You will then be re-directed to the following screen.
3. From here, select the users you wish to print the details for, and select "Print selected user details" at the bottom of the screen.

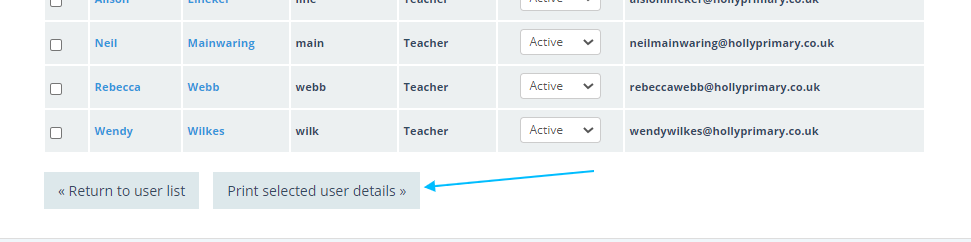
Note: Using this feature will reset the selected users' passwords. To continue and reset the users' passwords, click OK, otherwise click Cancel.
4. An automatic PDF download will appear - each users' details will be an a separate page. Print/Save the document as required.
